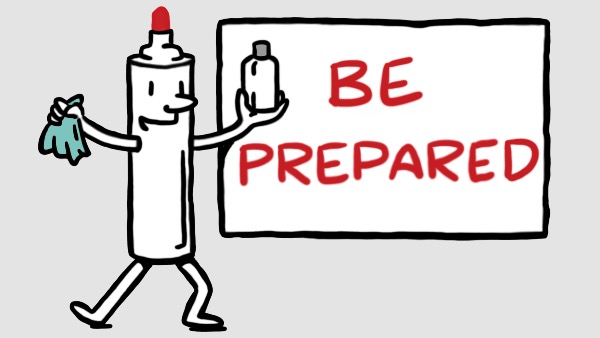
TruScribe artists are fantastic at making a video look easy. From the moment you click the “play” button until the final frame rolls, it can feel like you’re simply looking over an artist’s shoulder as they casually create images that support the narrator’s voiced message. You don’t see the hours of prep that go into the images, the communication with clients, the filming process, the editing, and so much more. It’s natural to feel like it’s just coming together, and that’s part of the magic of whiteboard animation.
However, this article isn’t about detailing every step of the process, from contract signing to client approval of the final video. It’s about a part of whiteboard animation that few likely consider when watching (or even co-creating) a video in the medium: maintaining, cleaning, and preparing the whiteboard itself, as well as the markers used to draw on it.
After all, almost all of us have drawn or written on whiteboards before, and many of us have one in our home or office. But sometimes, using your whiteboard can be made difficult by a few common frustrations, such as badly prepped markers, or ink that’s been left on the board for too long. Let’s look at some of the tips we’ve come up with along the way to address these issues, bolstered with some thoughts directly from TruScribe’s Lead Artist, Ben Schram.
The simplest and most important way to prevent the frustration of ink that’s been left too long on the board is wiping down the board, and getting the ink off of it in a timely fashion. Make sure to keep up with this, and ink should come up easily. But what if you do leave the ink on the board too long, and it becomes extremely difficult to remove?
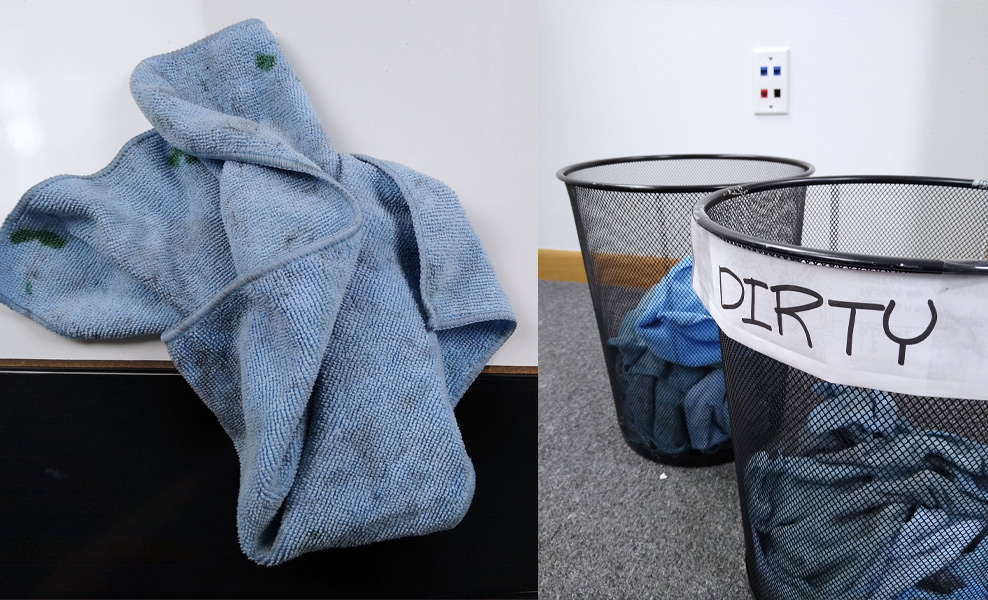
The answer lies in using rubbing alcohol during the wiping down of the board.
“Erasing recently drawn lines should be effortless. If it’s not, your markers were probably stored tip-down, which can cause lines to stick and smear. Old lines just need some elbow grease and rubbing alcohol for the stubborn parts,” explains Ben.
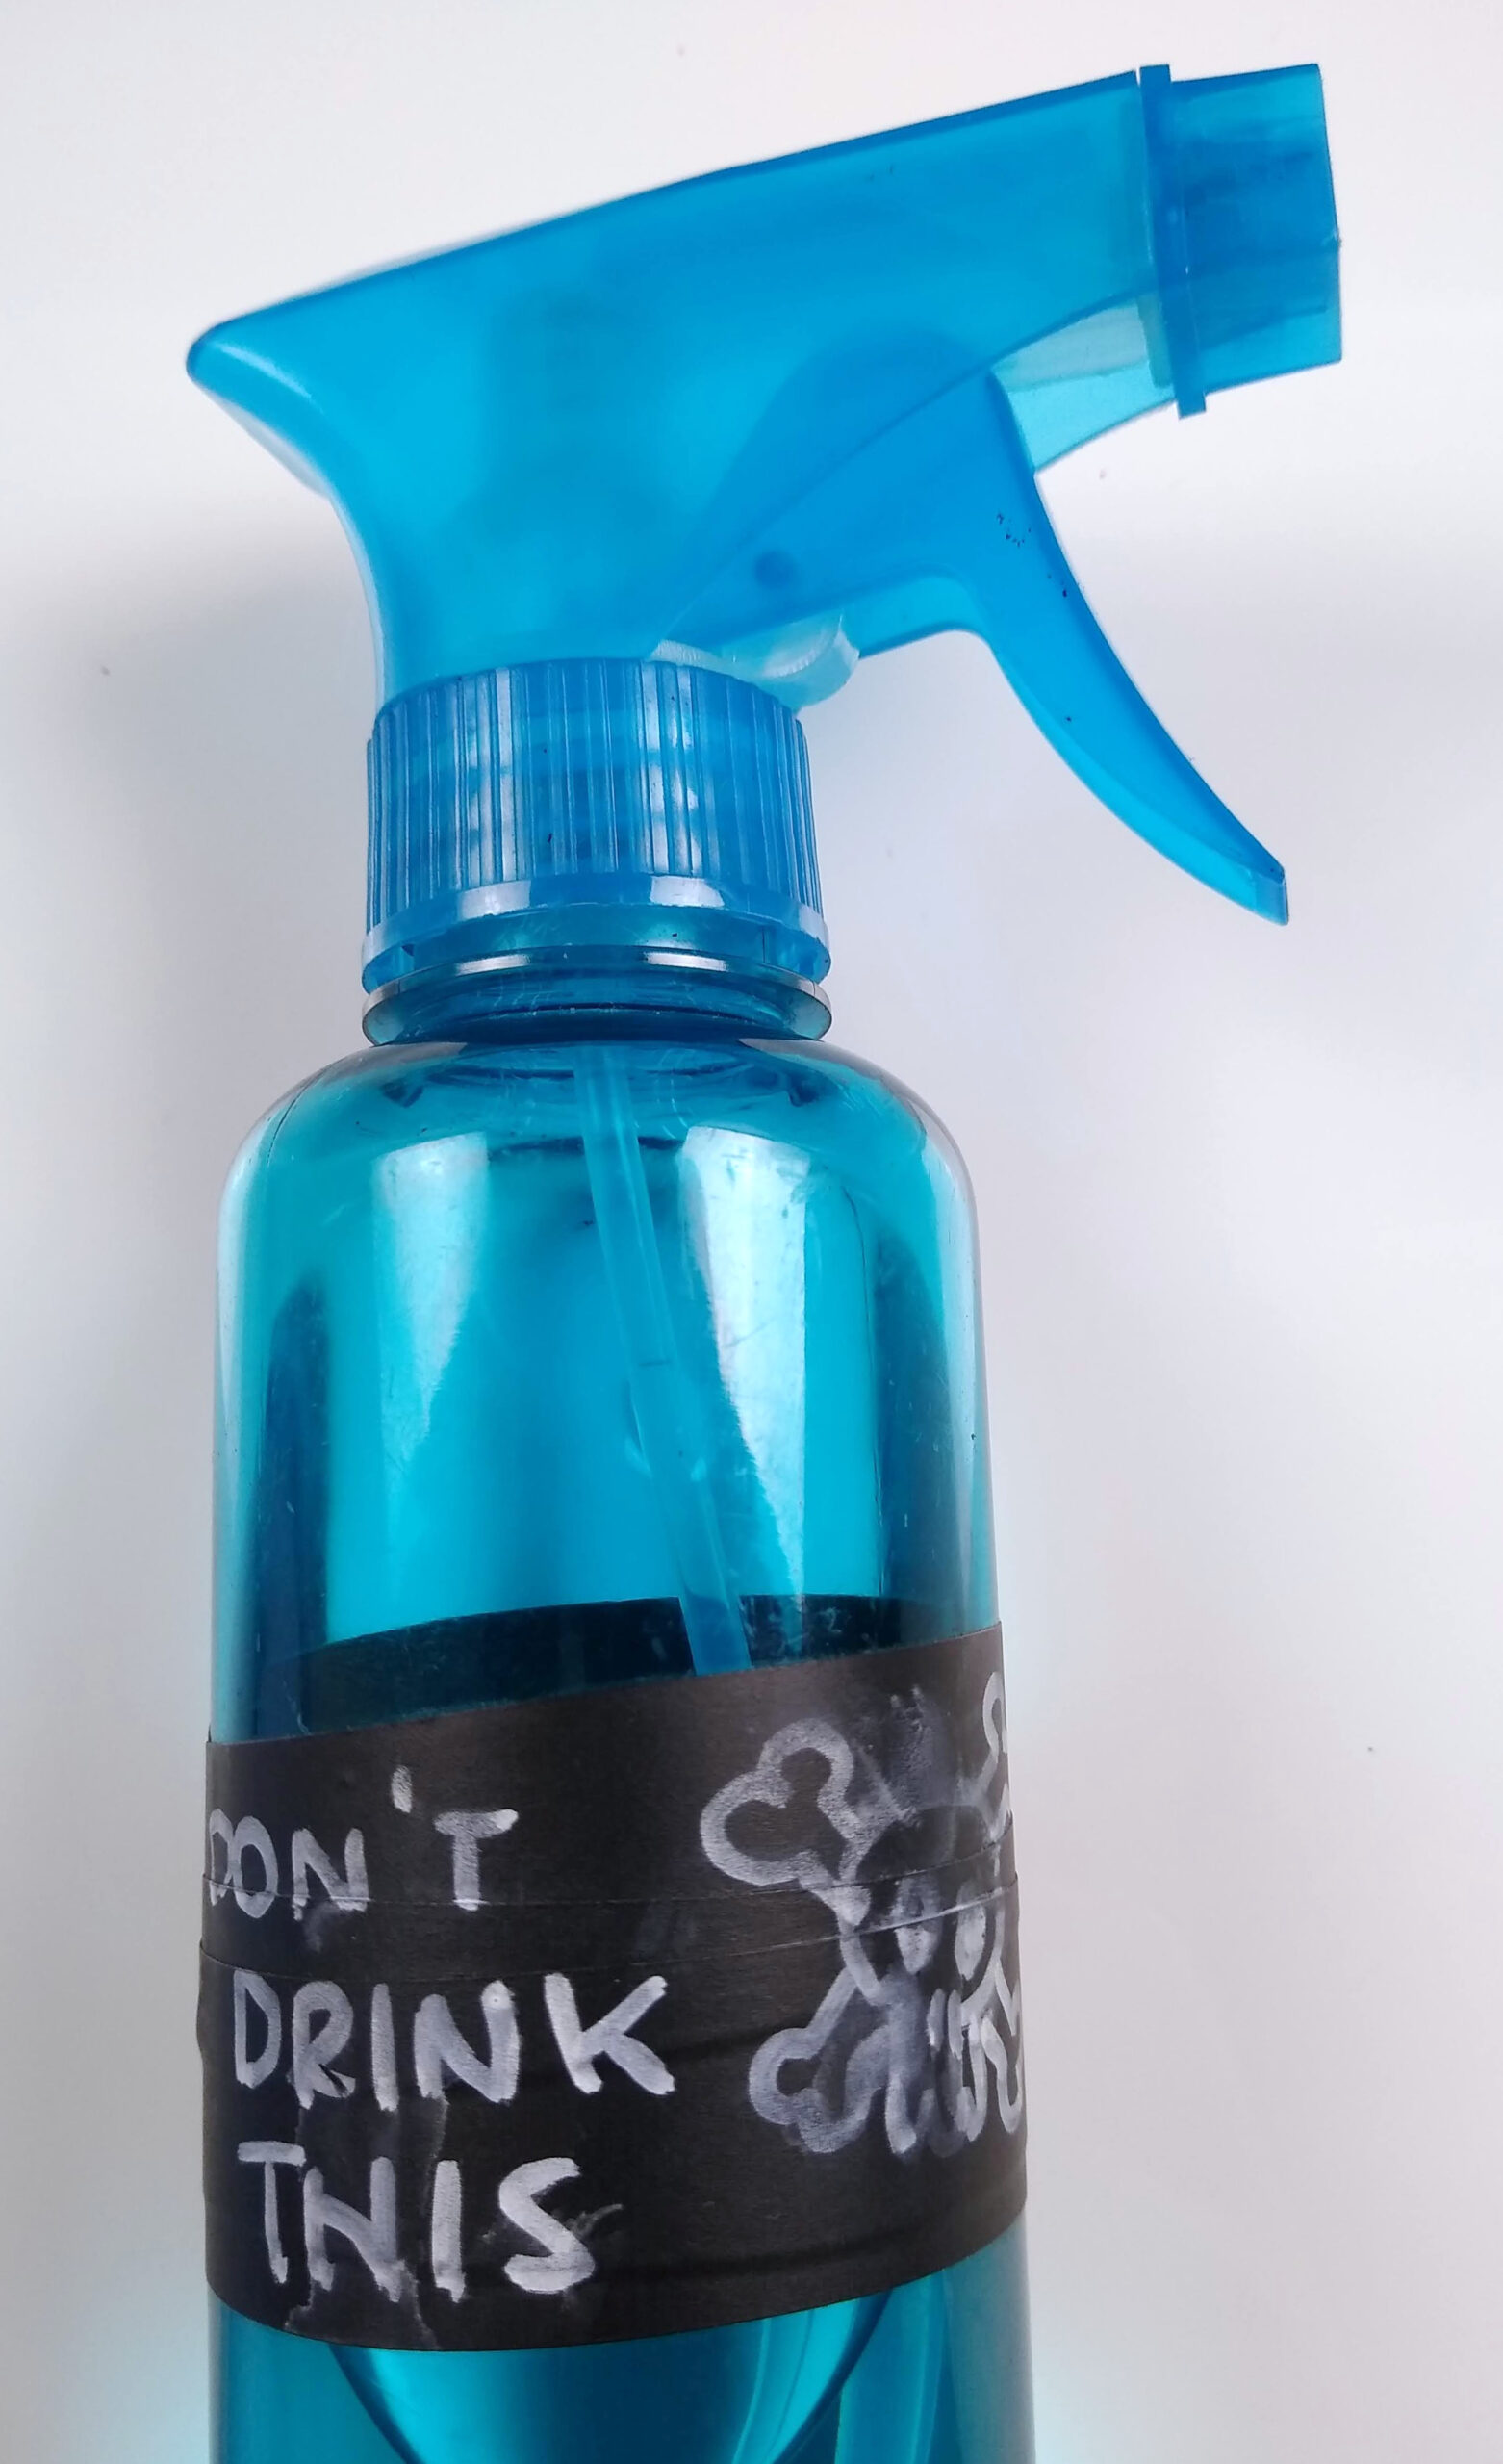
One common issue with an alcohol-cleaned board is that its dryness tends to cause the board to grip the hand. When skin on the hand catches the dry whiteboard it can cause the drawing motion to shudder, jump, or stop. A board like this is frustrating to work with, and all those hitches in hand motion will show up in the appearance of lines and writing.
Somewhat on both the cleaning and the preparatory side of things is an interesting technique that can alleviate the grippiness of a board that has been cleaned with alcohol or that hasn’t been used recently. Using a very small amount of mineral oil on a clean board can help the hand slide on the board, preventing the skips and zigzags of an overly grippy board.
Now, you’ll want to be fairly stingy with that mineral oil, and avoid using too much. Too much will cause the marker ink to feather out, and you really only need a small amount to make drawing easier—and add a pleasant sheen to the whiteboard.
“Working on a bone dry board feels like going down a waterslide without water,” Ben contends. “The tiniest amount of mineral oil, worked thoroughly across the surface with a paper towel, creates a fantastic working surface. Seriously, though, don’t use too much… it’ll get gross.” Yuck.
Let’s look next at marker preparation, without which your whiteboard will be… well, just a whiteboard. How can you ensure that your markers are ready? Storage can make a big difference in the marker’s performance.
When stored tip pointing upward, pigment seeps down the fill inside the marker, leaving the ink that the marker lays down faint, thin, or weak, as it contains more alcohol than pigment.
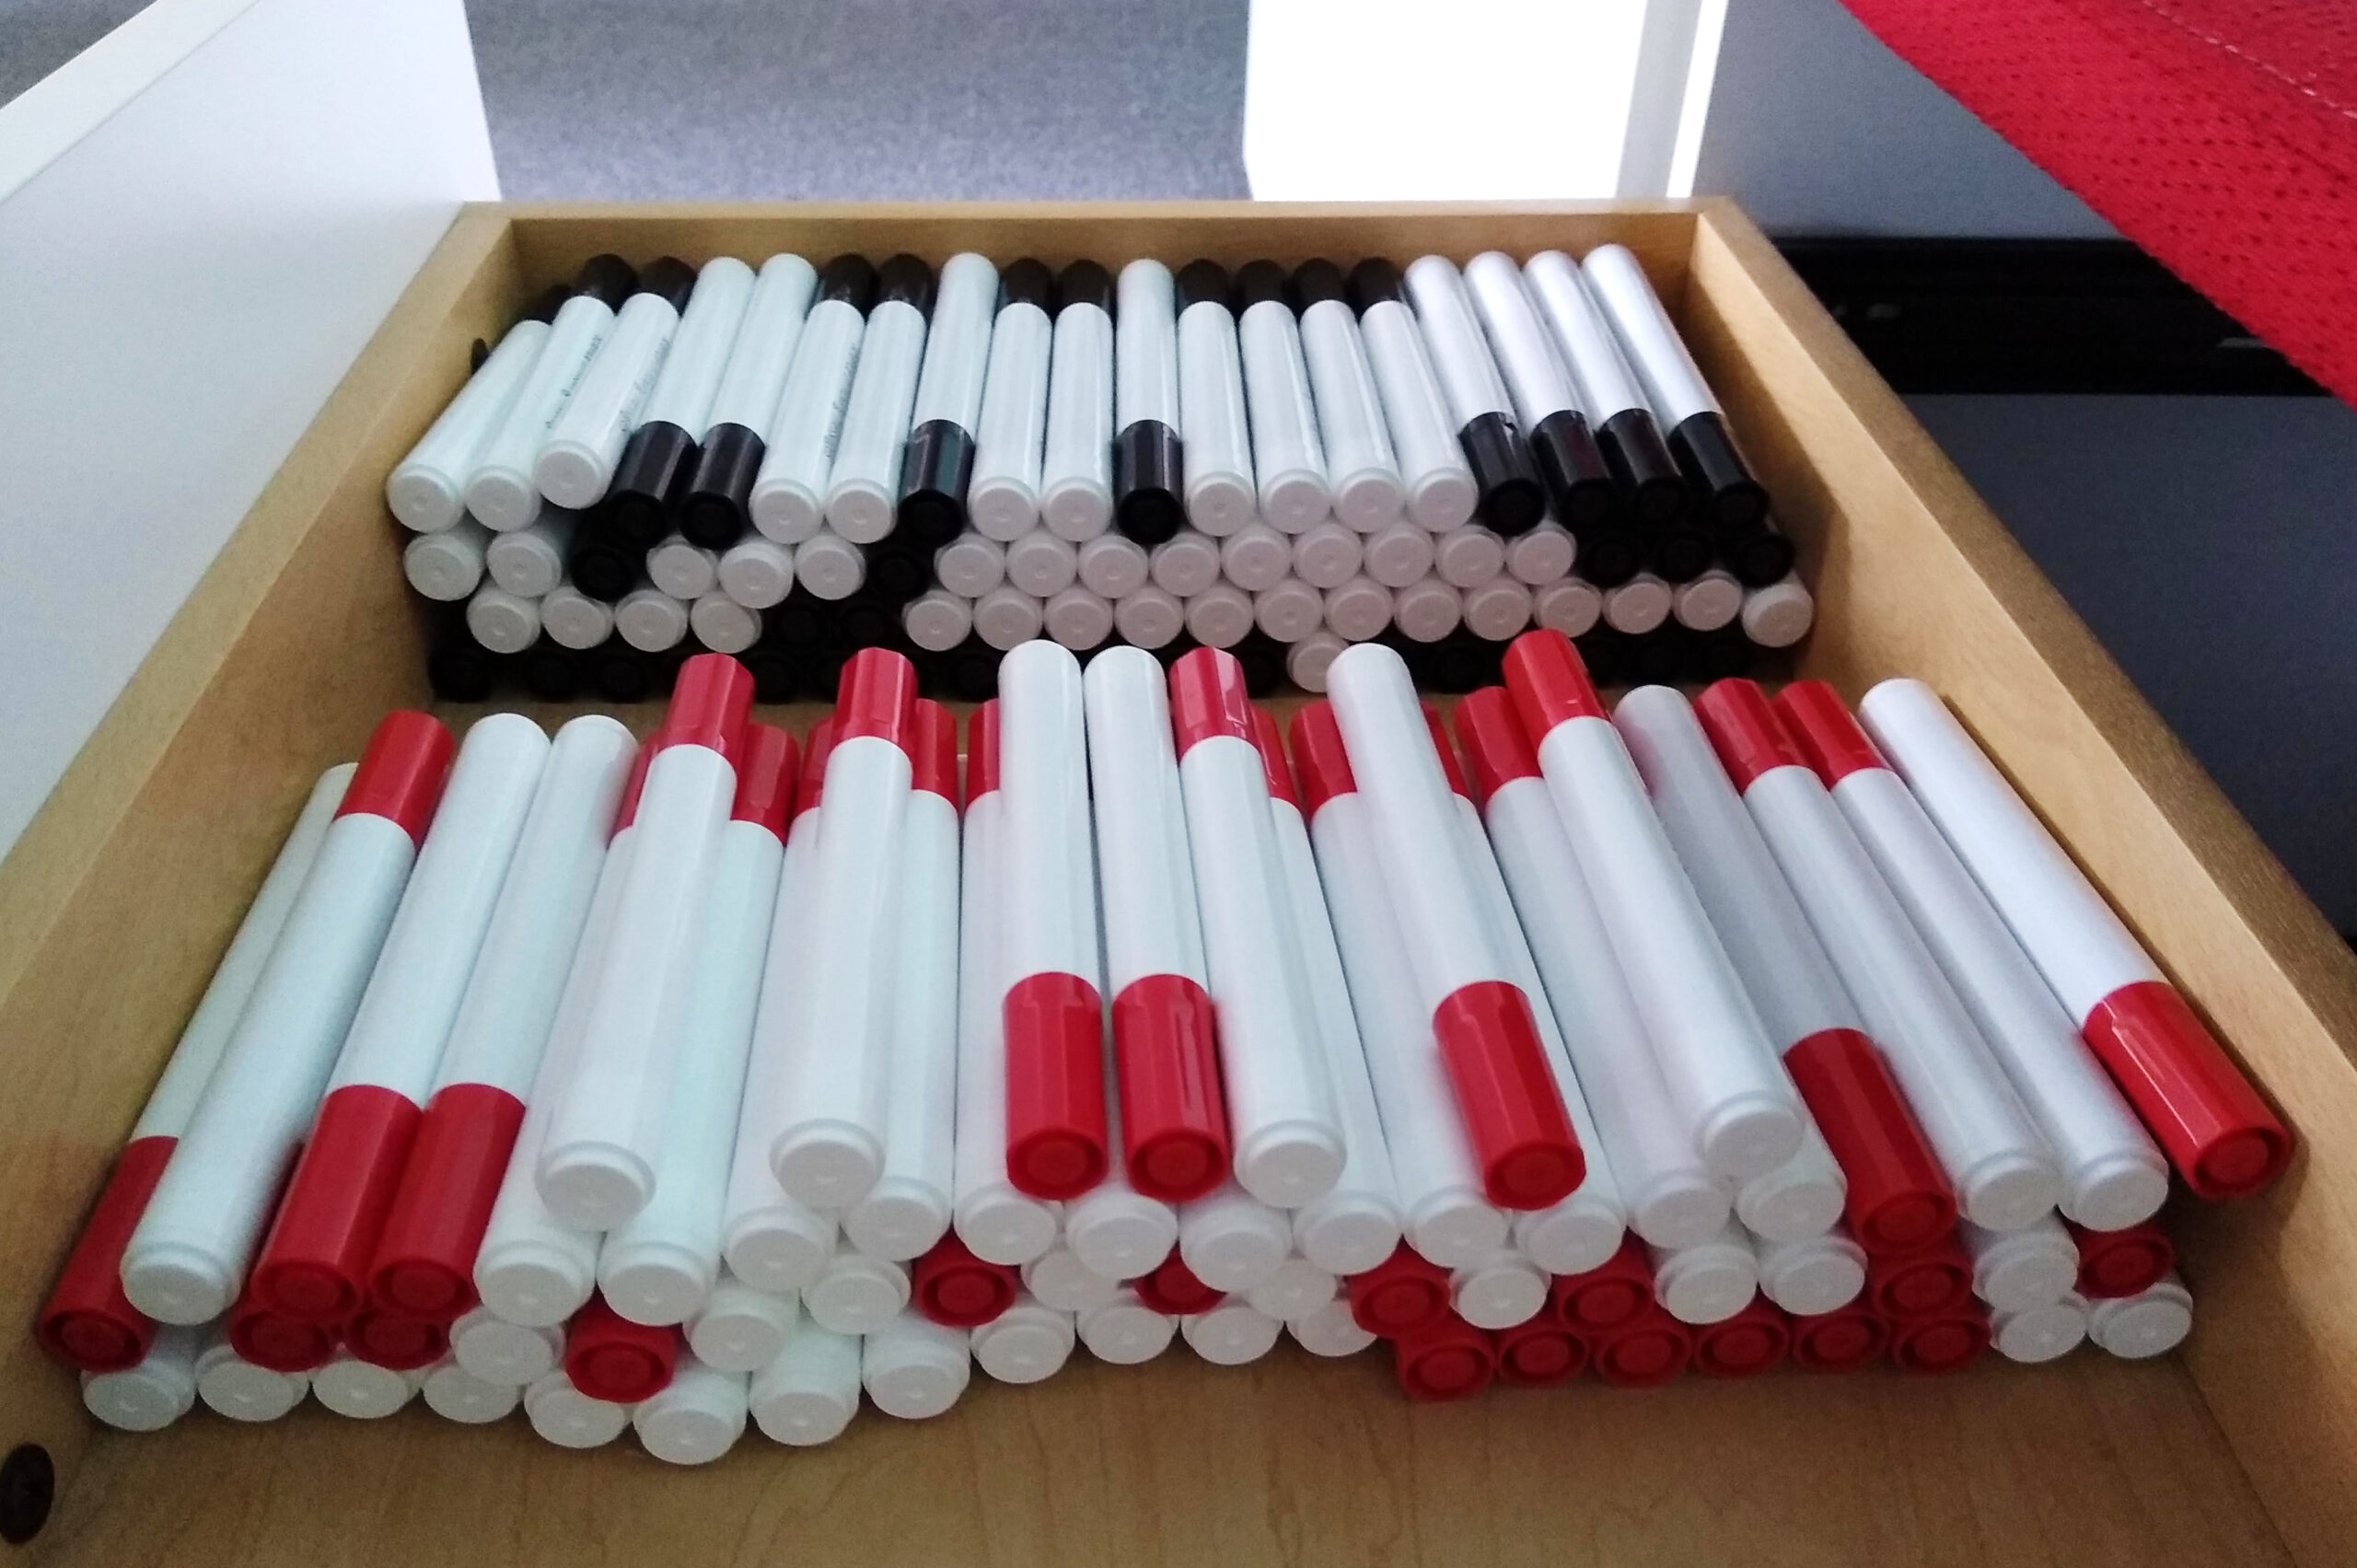
Stored with the tip down, pigment collects towards the tip of the marker, making the ink extremely dark. While this can be good for black ink, it can also darken other colors to the point of blackness—and make the ink extremely difficult to erase.
So what’s the best way to store your dry-erase markers? Lay the marker on its side. In Ben’s words, “Are your colors fainter or darker than you would expect? For long term-storage you will want to keep markers flat, but spending some time tip-up or tip-down can make a big difference in how colored markers perform.”
In other words, if you want to give your marker a little boost of pigment for a drawing project, take advantage of the tip-down storage for a short while before getting to work. This can give you a slight uptick in pigment without any of the negatives of pointing the tip down for long periods of time.
Try out some of these practices on your office or home whiteboard, and we’re confident you’ll see a change in how your drawings, writing, or projects look and feel. And let us know if you have any questions—we’re always happy to talk about whiteboard!